
Here we are going to see a very simple but effective technique to lit and render your exterior scenes using Maya and Mental Ray renderer. The Mental Ray built-in Sun and Sky system is one of the more powerful tool inside Maya. Some people are tempted to think that it's something for noobs and starters... believe me it's not! Let's get started with this free Maya tutorial about relistic exterior render in Maya.
TYPE: Free maya render tutorial
CATEGORY: Maya exterior render, Mental Ray Exterior
INTRO
We are going to take a look to one of the most useful features in Mental Ray: Physical Sun e Sky.
If you enjoy in creating exterior renders in Maya this simple guide will help you understand and use the best tool that mental ray have to achieve exterior renders.
Let's get started!
STEP 1: OPEN YOUR SCENE AND SETUP A BASE MATERIAL
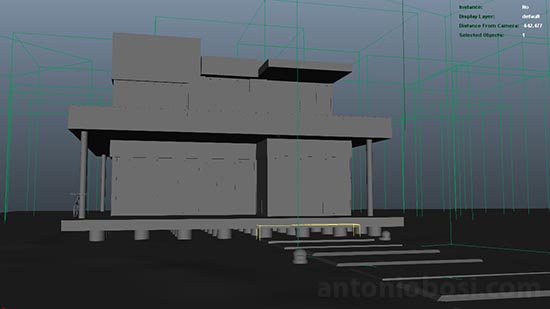
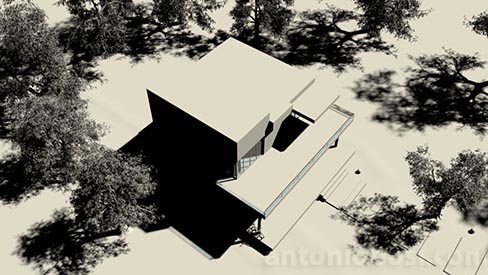
Open the exterior scene you want to render in Mental Ray but be sure to make it the more simple that you can. For this first step we need something very light, a heavy scene can drammatically increase your working time...keep the details for the final renders!
I kept the main building and a small number of proxy trees (those wireframed cubes), just to give a starting sense to my exterior scene.
STEP 2: ASSIGN A BASE MATERIAL TO THE WHOLE SCENE
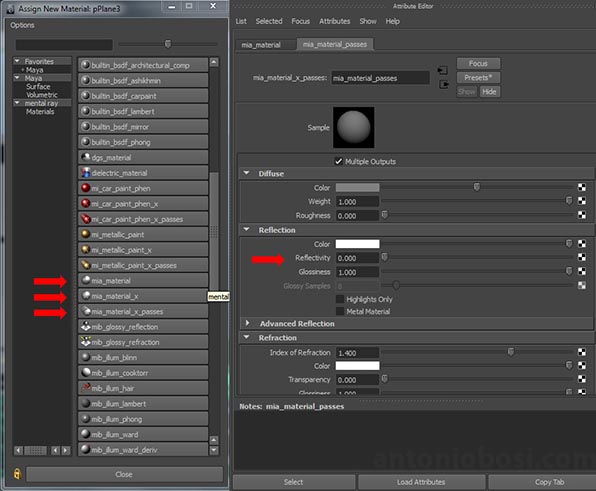
Assigning a base material to the whole scene will help us creating and tuning the overall light setup. My advise is to use a native Mental Ray shader. I will go for a mia_material_x_passes......Why you should use a mia_material instead of one of maya shader?
Mia_materials are the most complete shaders in the mental ray's family. You can use these shaders to make every kind of material (from glass to iron), they are fast, stable and supports multipass outputs (with the mia_material_x_passes shader). Mia_materials are also known as "Arch & Design" materials, that's because they have many characteristics that makes these materials both physically accurate and flexibles.
These settings for the Mental Ray's mia_material could be a good starting point (gray diffuse and 0 reflectivity):
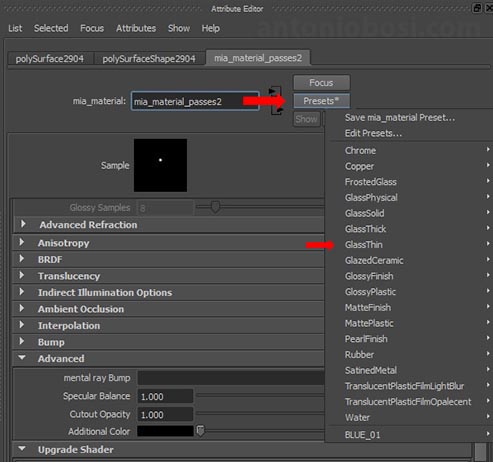
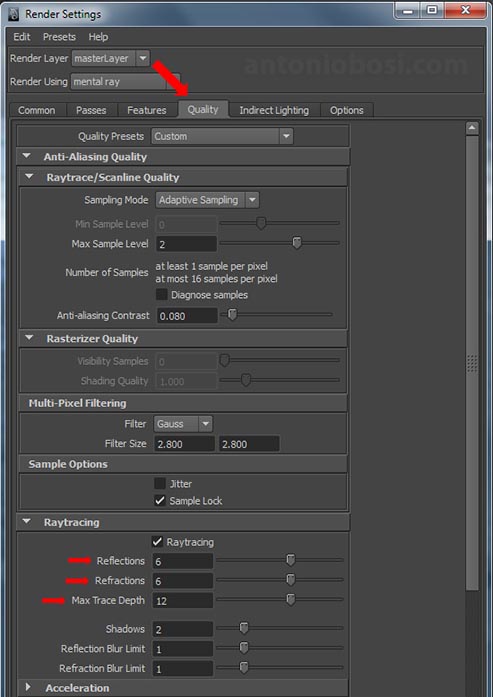
Assign a material to the glass surfaces also (go with mia_material_x_passes again) but this time you can load one of the maya's presets (REPLACE 100%). NOTE: when working with glass/transparent surfaces be sure to increase the raytracing render settings or you will see weird things!
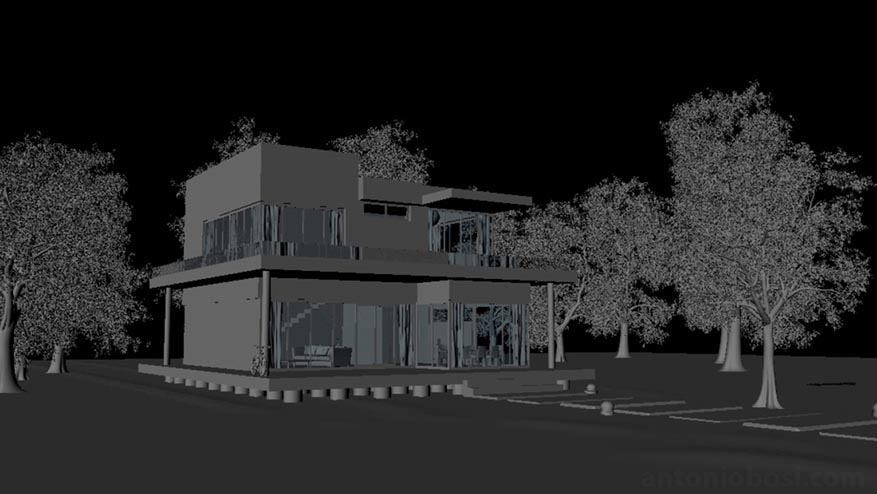
If you hit render you should get something of horrible like that:
STEP 3: CREATE A REALISTIC LIGHT SETUP WITH MENTAL RAY'S PHYSICAL SUN & SKY
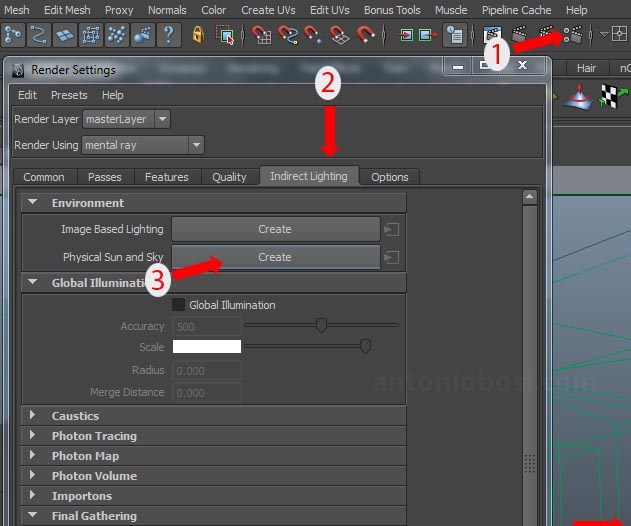
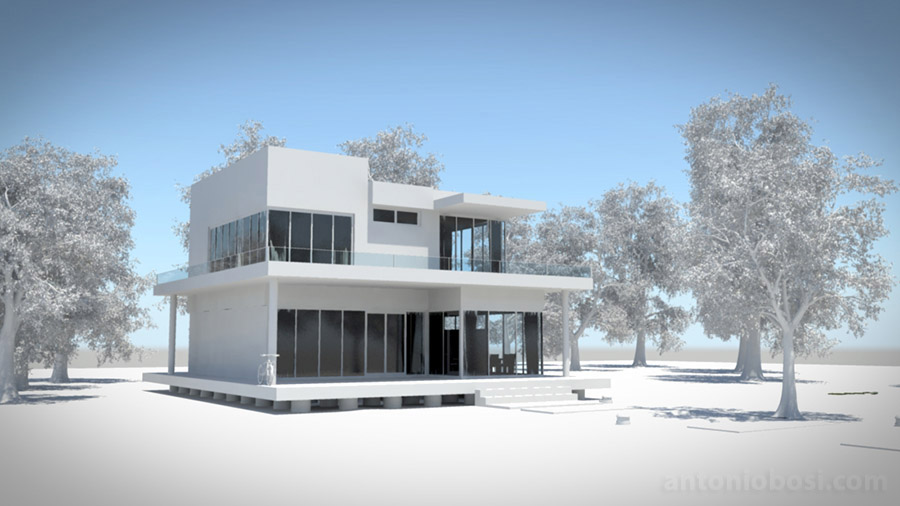
Now if you click render, you should go from that:

to that
How Mental Ray made this magic possible in a single button click? Let's take a look at Mental Ray Physical Sun and Sky's nodes:
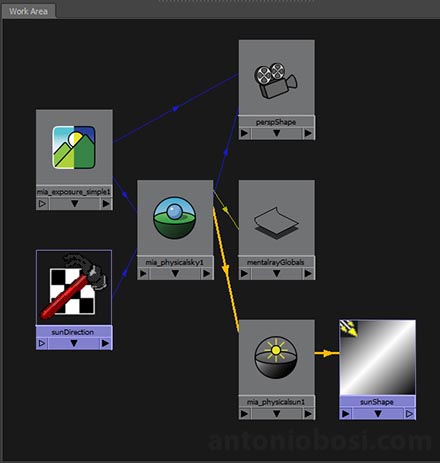
That's what Mental Ray does:
1) Create a Physical Sky Dome 2) Create a directional light (Sun) 3) Create a tonemapper 4) Enable indirect light calculation (Final Gather)
What are these nodes and what they does? Let's take a deeper look to them....
STEP 3.1: MENTAL RAY PHYSICAL SKY DOME EXPLANATION
Mental Ray's Physical Sky is connected to the persp camera trough the Mental Ray's environment tab
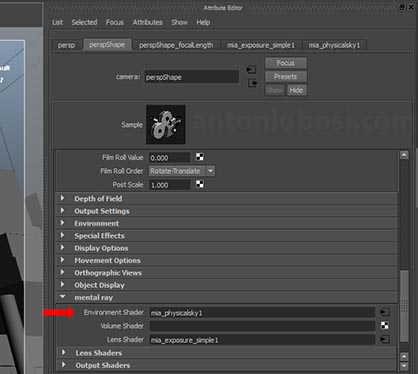
A Sky Dome is an hemisphere that surrounds our scene. That hemisphere has a light emissive textured attached to, that texture is based on a Physical Sky model (Mental Ray should use the Preetham sky model ).
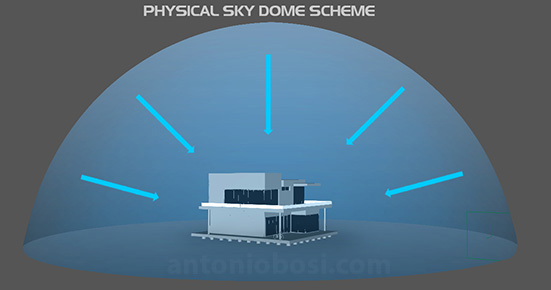
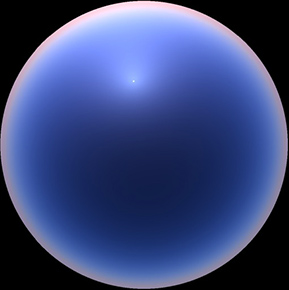
A Physical Sky Dome is very important because its light contribution is HUGE, in quantity and quality therms:
a sky dome emit an extreme soft type of light (the opposite of the harsh direct sun light), that kind of light is very eye-pleasing. This is the reason why professional landscape photographers try to take their pictures just when the sky dome light contribution is higher than the sun power.
The combination of that 2 light sources (sun and sky) creates the typical and realistic daylight
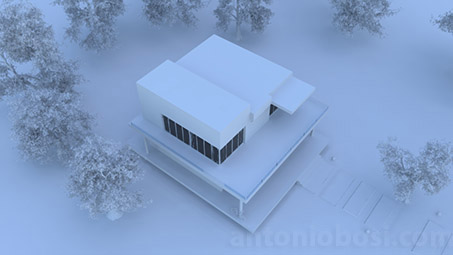
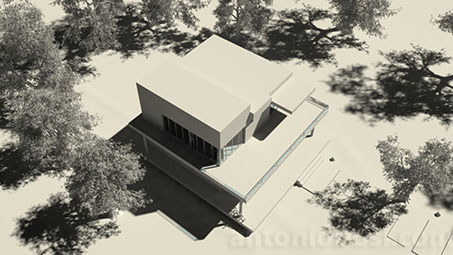
Physical Sky light contribution only Physical Sun light contribution only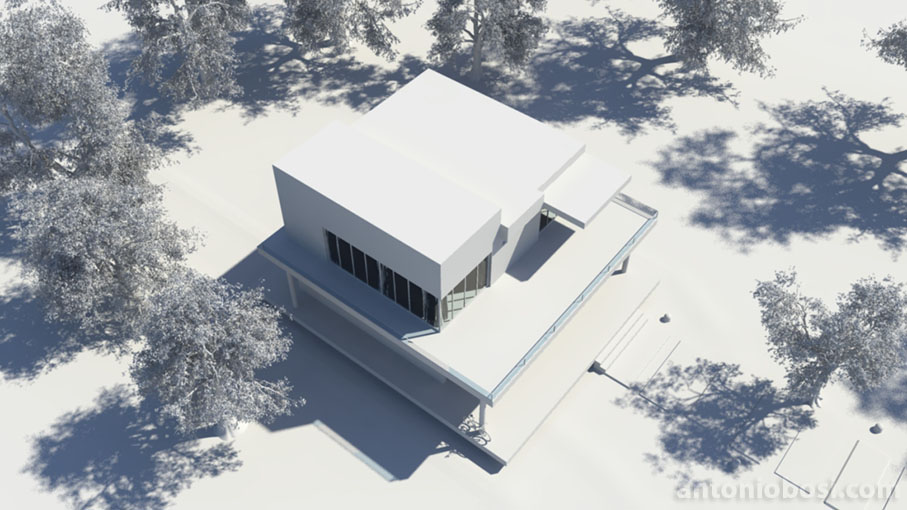
Sun light + Sky light
What makes the Physical Sky Dome a soft light source lies in it's nature: it is an indirect type of light.
Infact the sky is enlighted by the Sun (a direct light source) this light travels and scatters through the athmosphere and finally hits our scene. After all this journey the indirect sun light has become an omnidiectional / very diffuse light.
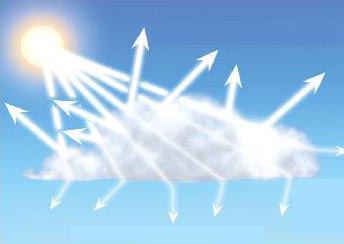
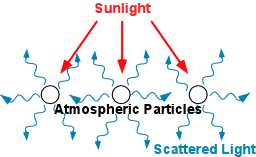
IMPORTANT NOTE: You won't see any Physical Sky effect if you don't turn on Mental Ray Final Gather (indirect lighting computation),
so be sure to put Final Gather ON when you work with Physical Sky.

Final gather OFF Final gather ON
STEP 3.2: MENTAL RAY PHYSICAL SUN EXPLANATION
The sunDirection node is created at the center of the scene and it has the apparence of a standard directional light... but it's much much more!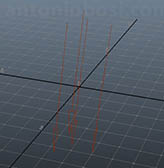
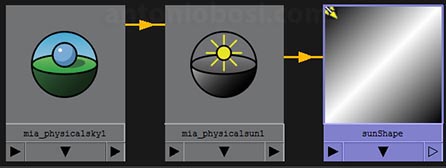
Mental Ray Sun is directly connected to Physical Sky, driving the overall aspect of the environment.
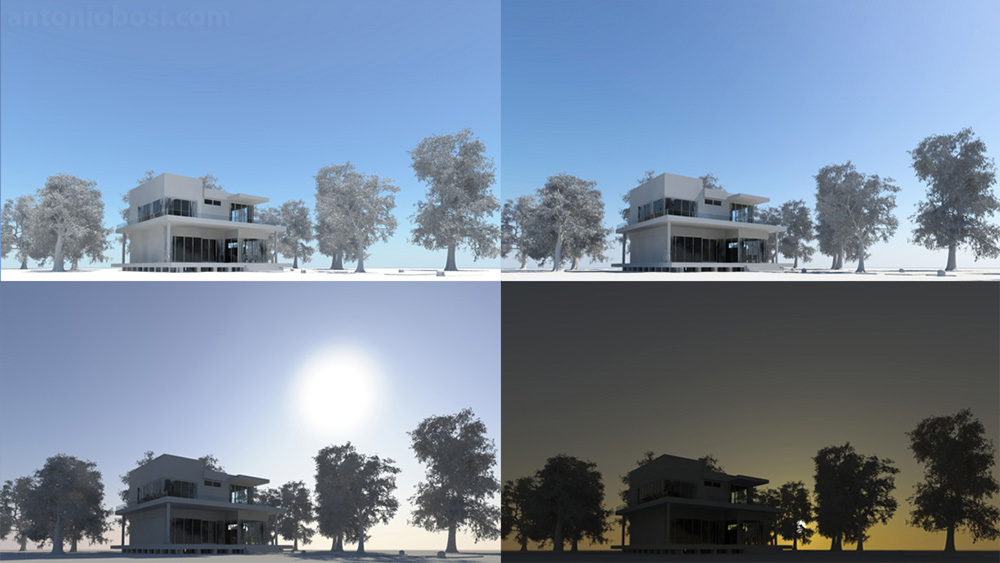
By simply rotating the sunDirection light you can change the time of the day.
This aspect of the overall illumination should be the first thing you should figure out: find the right time of the day can drammatically enhance your renders.
I often set the time of the day using the IPR render fetures in Maya, in that way I get an instant feedback of what I'm doing.
STEP 3.3: TONE MAPPER EXPLANATION
A tone mapper is created (mia_exposure_simple) and connected to the camera through the Mental Ray's lens shader tab. 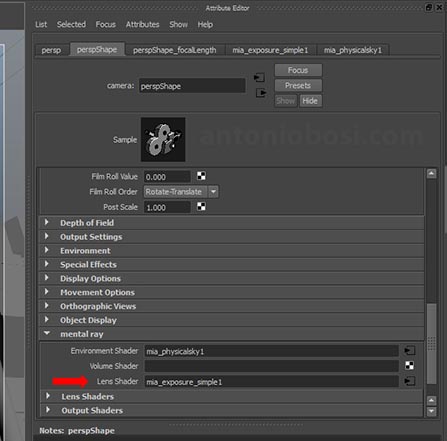
A tone mapper simulates the real camera behaviour. If you are familiar with real photography you know that your camera is responsible of many fundamental aspects such exposure, depth of field, grain, white balance and so on.... the most of that things are driven by tone mappers.
One of the one tonemapper's primary duty is to balance the luminance between high luminance and low luminance pixels coming from our renders.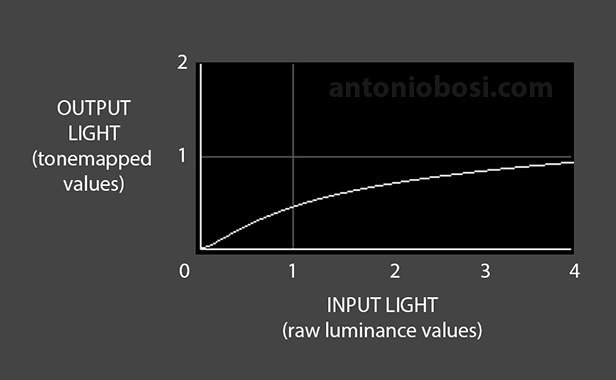
The tone mapper elaborates the full spectrum of the image to make it more eye-pleasing (in tech terms it converts an HDRI image in a low dynamic range image, to make it easly readable by our eyes trough our displays). It has to do with response curves, parameters and types...but for now just keep in mind that tone mappers are essentials for any convincing computer generated images.
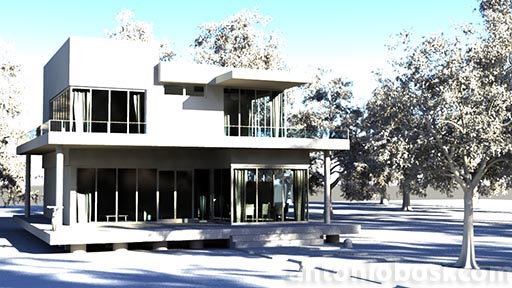
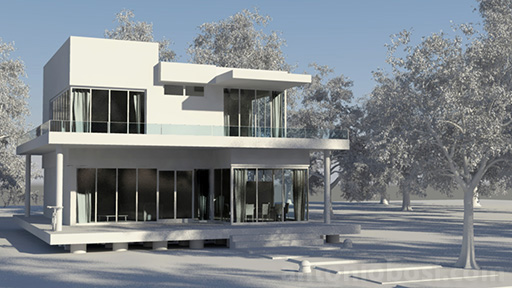
Tone mapper OFF Tone mapper ON
STEP 4: MENTAL RAY PHYSICAL SKY IN DETAIL
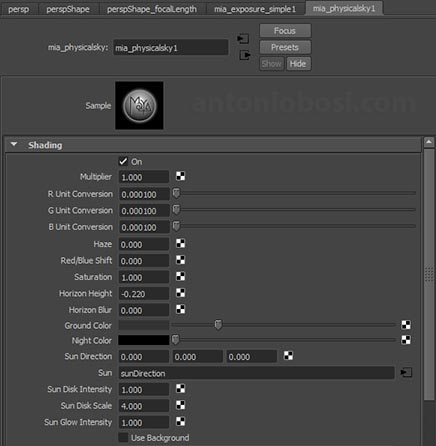
Let's take a look at the controls that I tweak in the most of the cases when working on exterior render scenes. If you are looking for a deep explanation of every single attribute and connection please refer to some technical sheet.
MULTIPLER is the overall strenght of the sky light emission. The default is 1.0. I often leave it as is, this parameter can help you in complex light situations (for example when you are doing evening scenes where you have to combine natural and artificial light).
HAZE: it sets the amount of haze/fog in the air. The range start from 0 (clear day) to 15 (overcast/desert storm). The haze parameter influences the apparence of the sky and horizon, but it's also drive the softness and the strenght of the sun light. Use this parameter to give a more realistic appeal to the overall environment, I dislike extreme parameters (0 and 15). 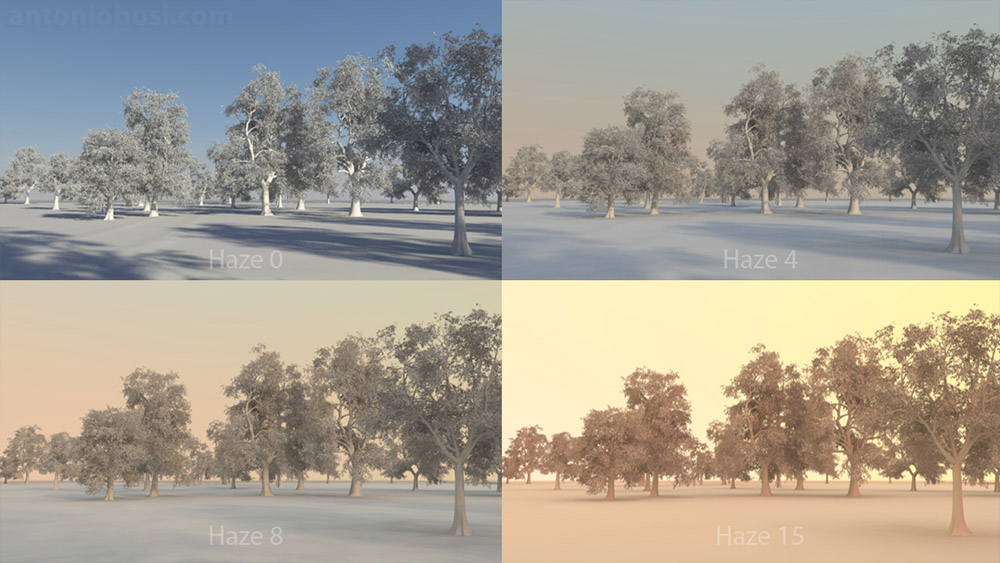
RED/BLUE SHIFT: it is a tonal correction (from blue to red). You can easly correct the warmth of the atmopsphere. The default value is 0.0, values higher than 0 will make your atmosphere more red (warmer), values below 0 will make the atmosphpere bluish (colder). I correct it very little to avoid unnatural effects (expecially in the sky).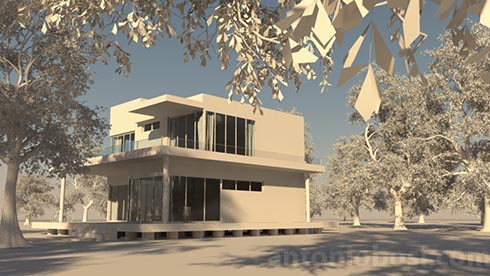
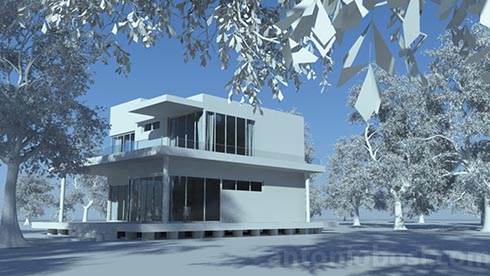
RED/BLUE SHIFT +0.3 RED/BLUE SHIFT -0.3
SATURATION: I guess it's self explanatory... 0.0 black and white, 2.0 extremely saturated! This parameter will allow you to control how much color will cast the sky dome/sun.
NOTE: if you tune sky's saturation you will probably obtain a very unnatural sky, so remember to replace the sky in post...this parameter is intended to use for an artistic control over the casted light, or small changes.
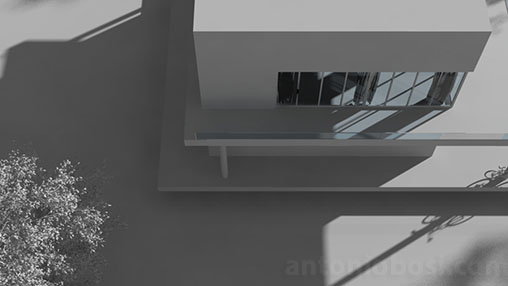
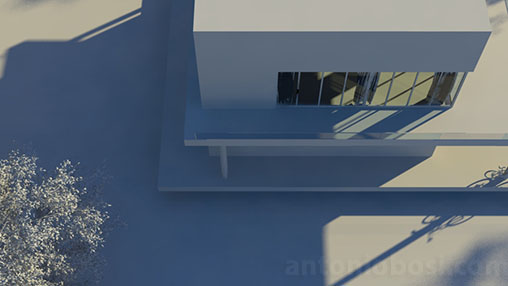
Saturation 0.0 Saturation 2.0
HORIZON HEIGHT: sets the "level" of the horizon. This parameter has to be fine tuned to fix horizon issues when doing exterior renders from a high camera point of view. 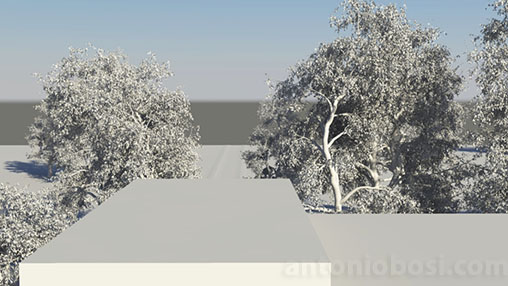
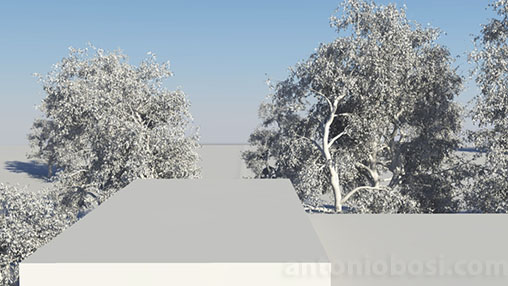
Horizon height 0.00 Horizon height -0.62
SUN DISK INTENSITY: do you think is the luminance value of the disk sun? No! It's something like sharpeness. The more this value, the more visible will be the sun disk. This parameter will not alter the overall casted light, it's just a sun apparence setting.
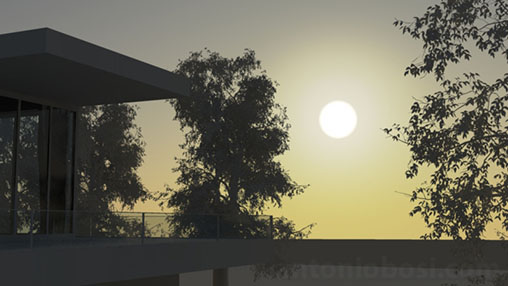
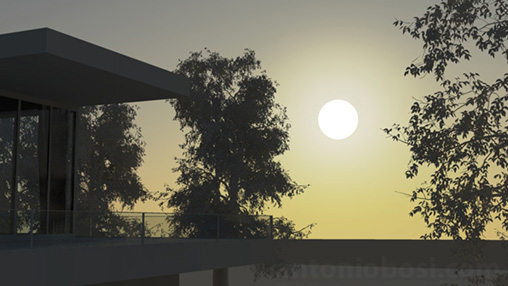
Sun disk intensity 1 Sun disk intensity 50
SUN DISK SCALE: sets the size of the visible sun disk. Like the "Sun Intensity" this parameter will not alter the overall light casting, it's just an apparence setting.
A fun fact: the real sun scale should be 1.0 but people always misunderstand the real scale of the sun so, for good looking reasons, this parameter is set
to 4.0 by default 🙂 Feel free to tune this parameter following your tastes! 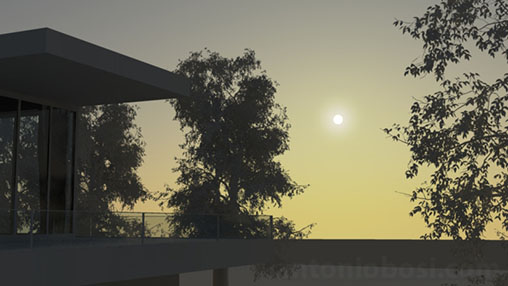
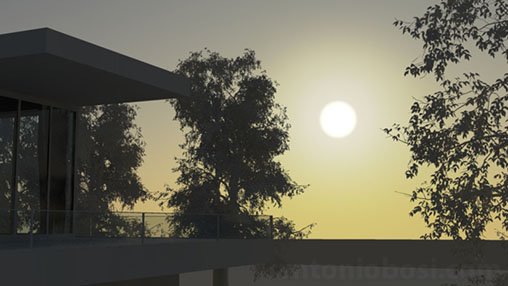
Sun disk scale 1 Sun disk scale 4
SUN GLOW INTENSITY: glow_intensity is the intensity of the visible sun glow. This parameter will not alter the overall light casting, it's just a sun apparence setting.
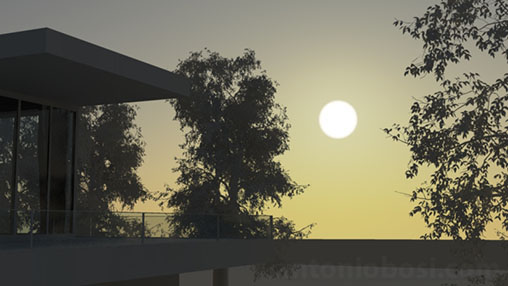
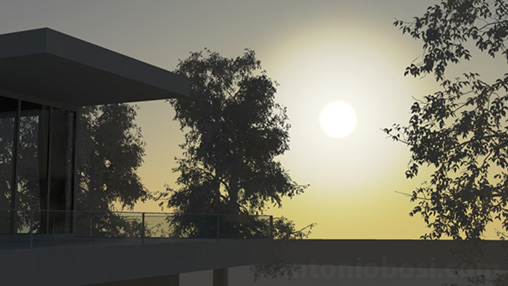
Sun glow_intensity 0.2 Sun glow intensity 4
STEP 5: MENTAL RAY PHYSICAL SUN IN DETAIL
Mental Ray Physical Sun is connected to the Physical Sky node. If you open up the attribute parameters of mia_physicalsun you will notice some values enlighted by a yellowish color: those attributes are driven by Physical Sky node's attributes so if you change, for example, "horizont height" in Physical sky the relative attribute of the Sun node will automatically get the same value.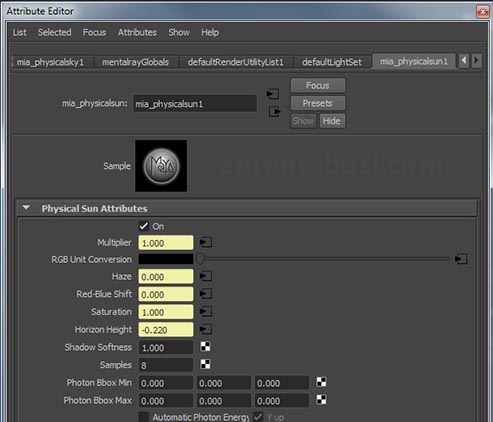
SHADOW SOFTNESS: controls the softness ammount of Sun light. Higher values will soften Sun's shadows.
The physical accurated value is 1.0, but I often put this numer higher (something around 2 or 4).
NOTE: This is a scene scale dependent effect, so you have to fine tune this parameter everytime in all your scenes...there's no magic-one-time-set value parameter! Bigger scenes will require higher values to get the same effects of the small ones.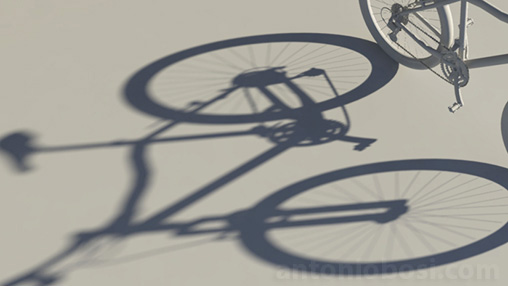

Softness 1.0 Softness 4.0
SAMPLES: it controls the quality of the Physical Sun's soft shadows. If you notice grainy sun shadows then put that number higher
(the less than you can or your render times will go crazy!) 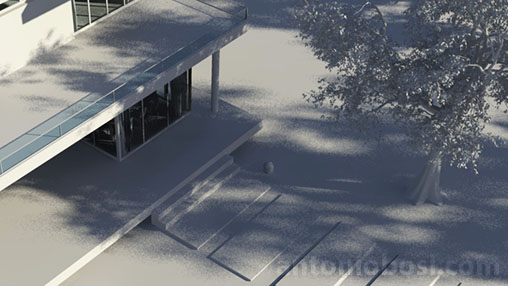
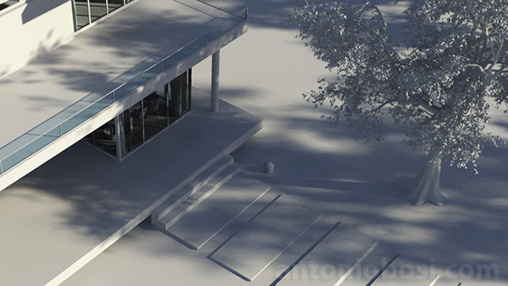
Samples 4 (0:51 min) Samples 128 (4:30 min)
STEP 6: MENTAL RAY MIA_EXPOSURE_SIMPLE IN DETAIL
Let's take a look at the tone mapper created by Mental Ray Physical Sun and Sky: mia_exposure_simple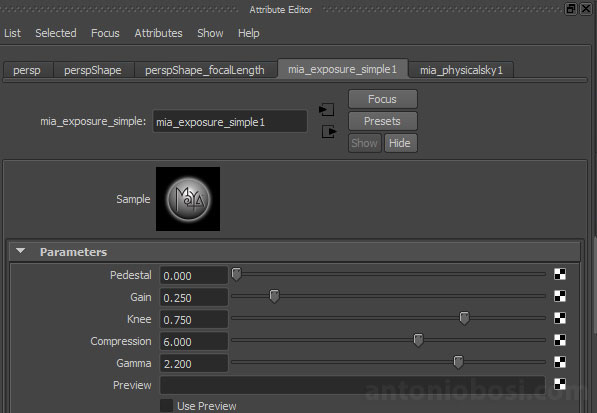
GAIN: it represents the exposure knob. Raise or lower this value to set the overall brightness.
This is the first parameter to set, the other parameters are related to this one.
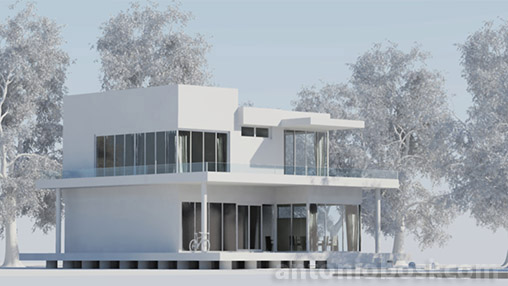
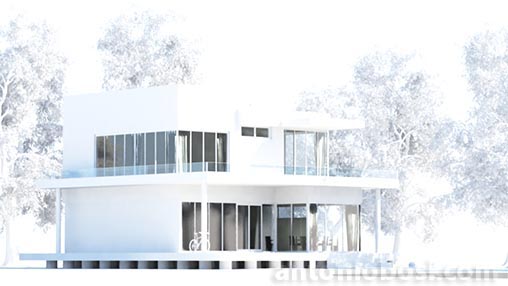
Gain 0.5 Gain 1.5
COMPRESSION: this control will manage the highlights of your render. The more the value, the less the highlights.
A value of 0.0 means no compression at all (so lots of highlights and probably lots of burned areas). Values around 2-4 are advised.
Don't compress to much or you will loose all the contrast (even if you will recover burned areas).
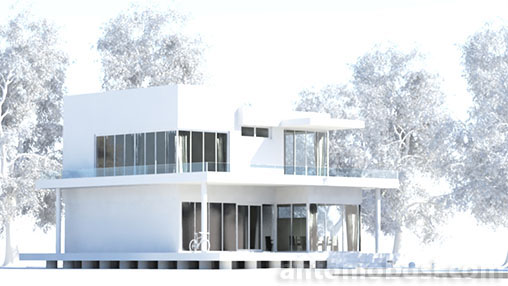
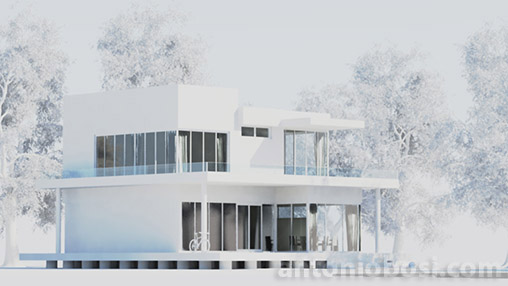
Compression 0 Compression 10
GAMMA: sets the gamma correction of the resulting tonemapped images.
We should have a long talk about gamma.... but for now be sure to set something between 1,8 and 2,4 (gamma changes the response of the mid-low tones).
Take a deeper look to gamma speech if you are interested in linear workflow.
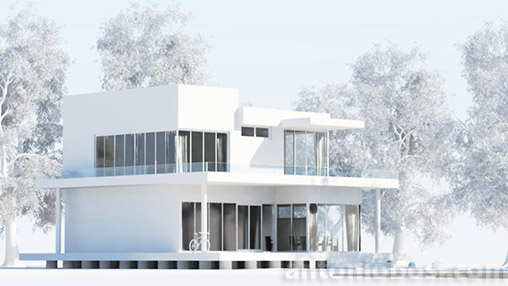
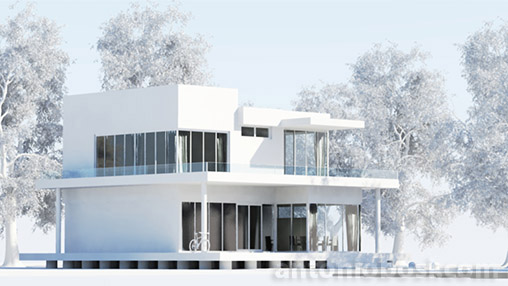
Gamma 2.2 Gamma 1.8
PEDESTAL: it tweaks the "black level". A positive value will add some light, a negative value will make your blacks deeper. Use it just as an artistic option.
I often use this parameter to crush blacks.
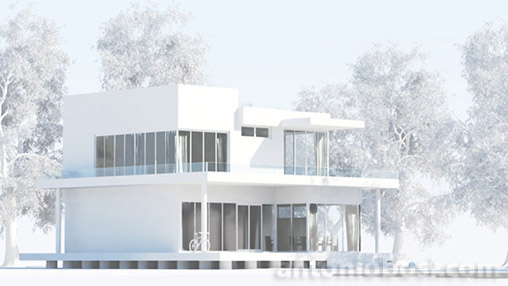
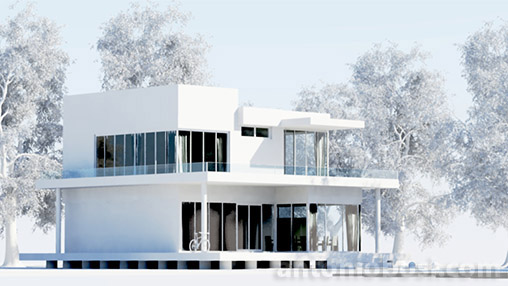
Pedestral 0.1 Pedestral -0.1
Tone mappers are essentials in exterior render tecniques because exterior scenes have a lot of unbalanced lights (tons of highlights and deep blacks), Mental Ray's tonemappers are our best friends to balance and tweak our rendered images.
Be sure to spend some time in tweaking mia_exposure_simple, this will enhance your exterior renders a lot.
STEP 7: ASSIGN MATERIALS
Now that we had setup the overall light parameters we are ready to assign materials. My advise is to use mia_materials (simple, x or _x_passes).
When tweaking start with 0 reflections and refractions, tune your diffuse channel (with a base color ), play with roughness and try to achieve a good looking result with base parameters.
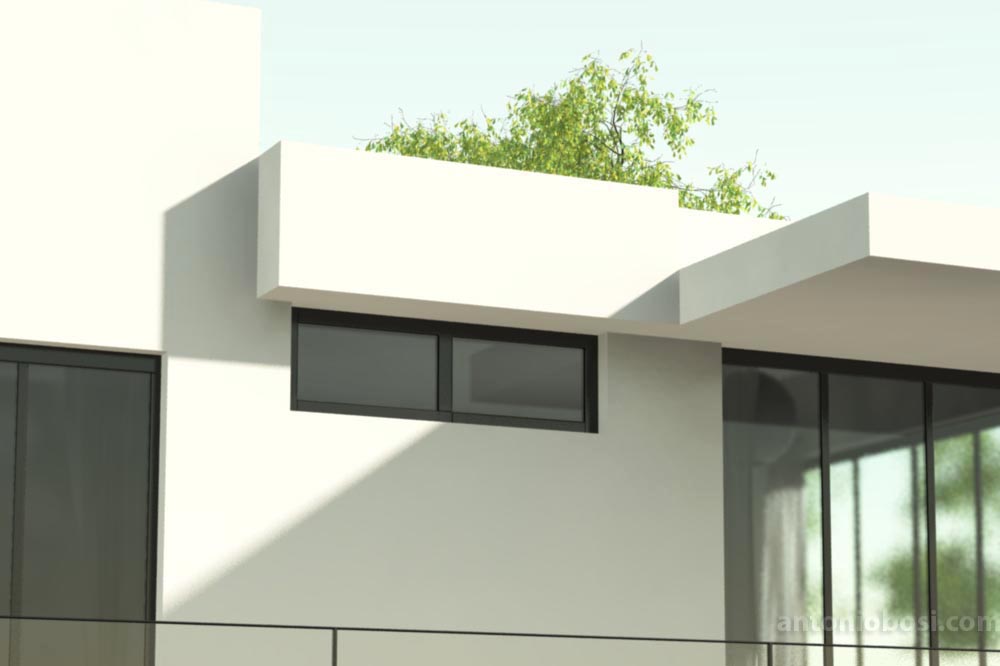
After that assign a texture to the diffuse channel.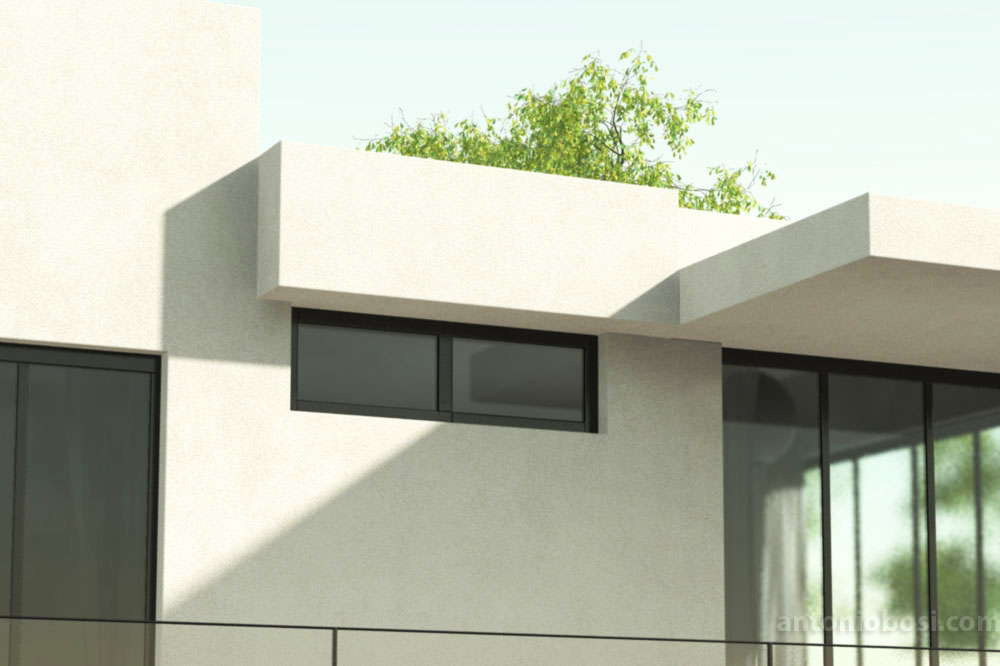
Go with a bump map to enhance the level of detail.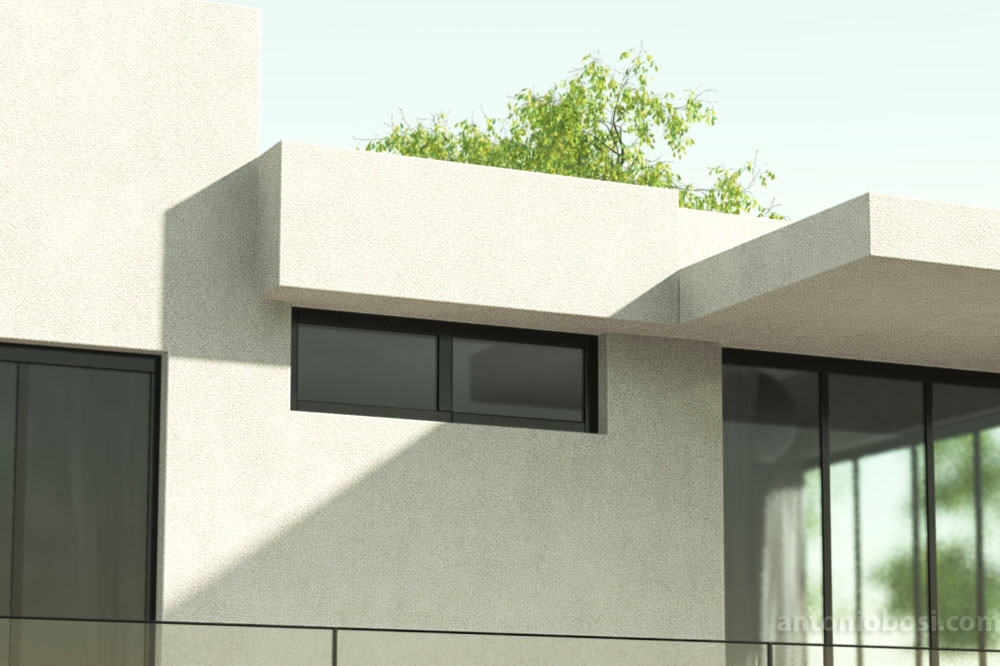
Activate ambient occlusion to add some contact-contrast. 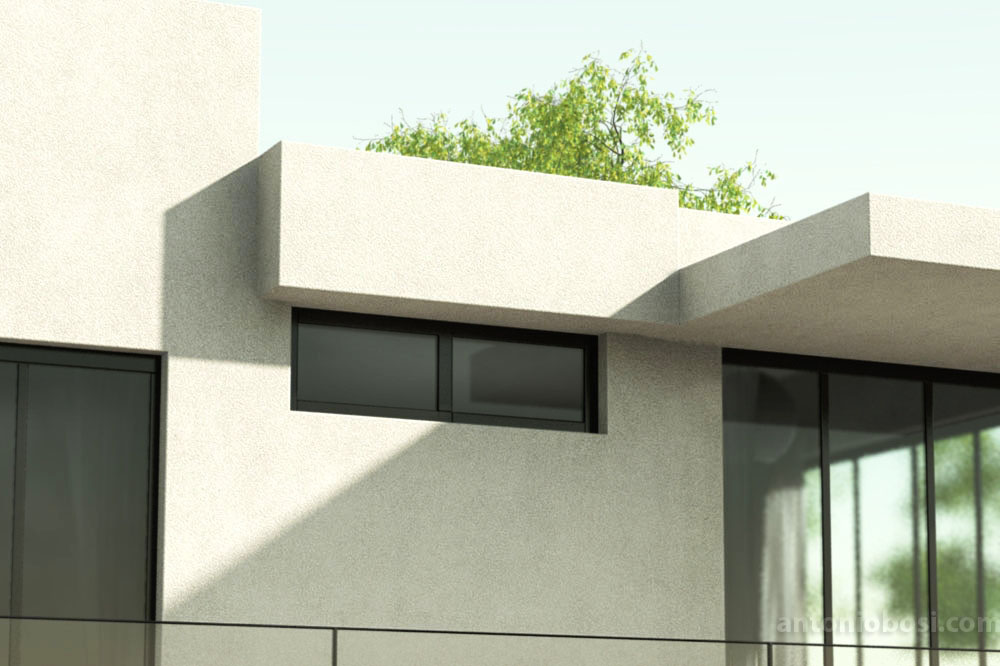
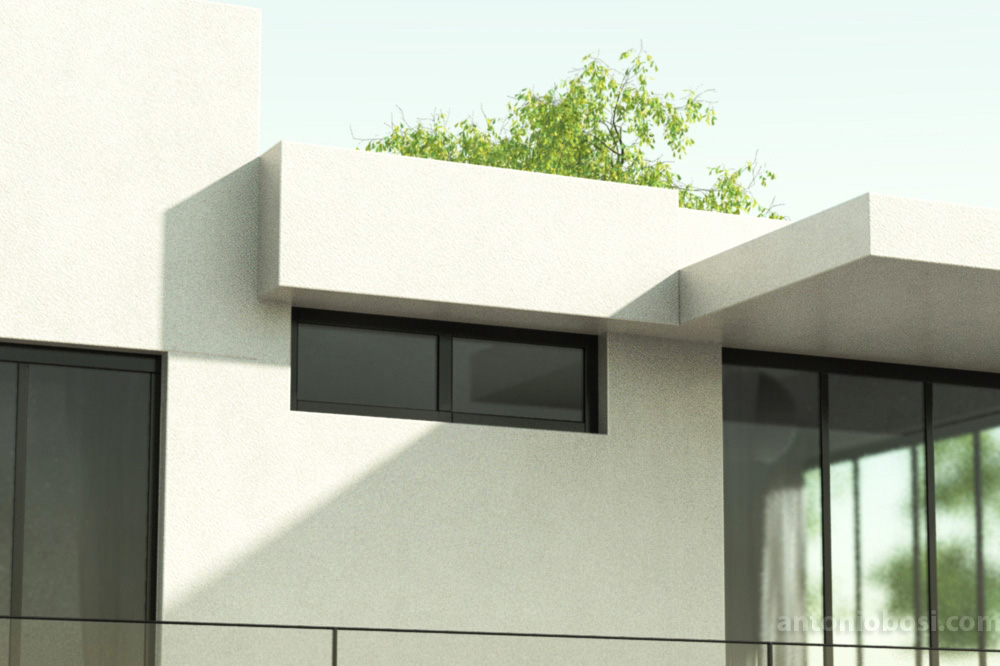
When you think these parameters are pretty good, start play with reflection.
Reflections are essentials to achieve photo realistic looks. Keep that in mind: every object in real life is reflective, there is no 0 reflective objects in the real world... you just need to set reflection parameters properly (I know.. it's not so easy!).
STEP 8: GRASS AND PLANTS
In this tutorial we will not cover an in-dept guide to make garden and plants, but I hope to write a specific tutorial soon.
We can't get a nice exterior render if we don't take care of the environment, in particular grass and plants. This step is crucial.
To make a decent natural environment the first step is find good references, so go on google and steal some ideas...because, as the good old Picasso said:
"Good artists copy, great artists steal!"
I usually make a base grass carpet and then I place the other plants. I highly recomend you to take a look to the Maya Mental Ray Proxies Tutorial where I explain an effective tecnique to populate maya scenes with hundreds of complex objects (like grass and trees!).
Get pratique in gardening and your exterior renders will jump many quality levels. A great garden can make an horrible scene become very good!
STEP 9: FINAL TOUCHES/BACKGROUD
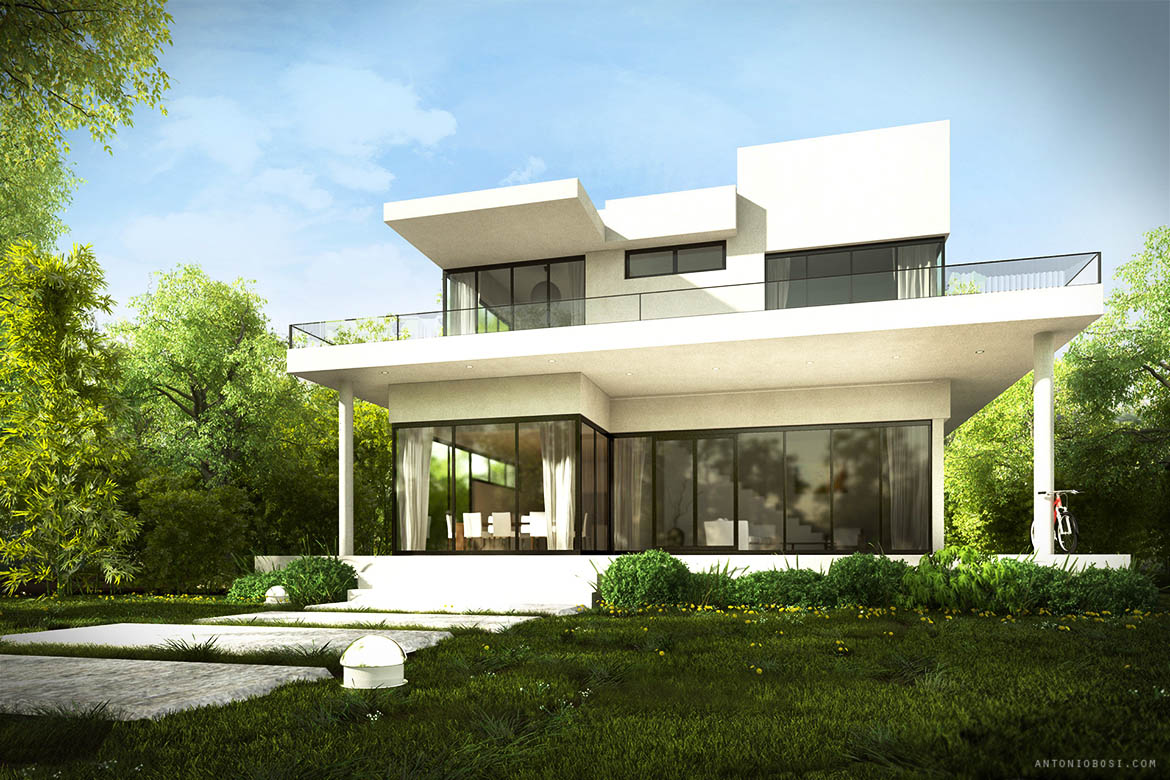
Have properly set up lights, materials and environment? Then you just need some final touches and a good background! 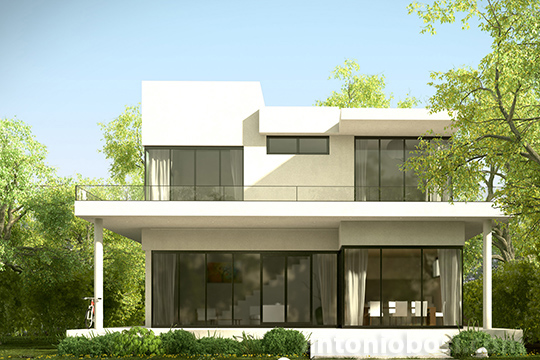
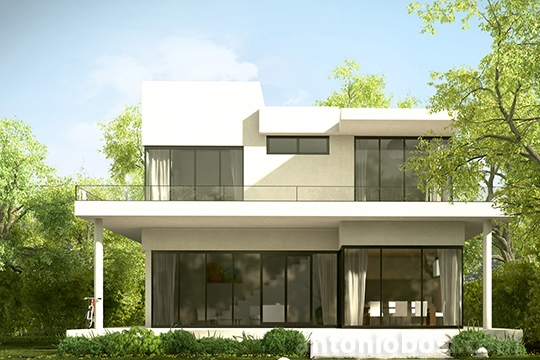
A nice background is very important, sometimes a good background can bring life to a dead render. The Mental Ray's sky background is a simple / boring colored gradient. You can easily get rid of it in post production.
NOTE: Physical Sky supports a BACKGROUND slot allowing you to insert a background directly in you renders, but I find the post production approach more effective.
Be sure to launch you final renders with Mental Ray High Quality render settings (and high resolution), then make some adjustments in post production.
There's no rules in post production (you can do anything you like), I often adjust levels and do some color corrections.
I come from the old school "Do the most of the job in the render phase and just little adjustments in post-production". But you are free to find your own approach.
FINAL WORDS
Exterior render scenes are one of the most difficult challenge for a 3D graphic Artist, that's because not just for its complexity but also because of its weight (in power calculation therms). Mental Ray Sun and Sky is the fastest and powerfull way to enlight you exterior renders in Maya, so I hope you will spend much time to learn how master all its features.
When playing with that kind of scenes keep always in mind that exterior render scenes are very heavy, they will overload your CPU and your RAM (expecially when you are going to add nature and trees), this will make you waste a lot of time just to get render feedbacks during your work, even if just for small changes... it can be very frustrating and, above all, it will make your job a hell !
That's why I VERY advise you to...
1) Keep things simple, add details and heavy geometry just in the final stages
2) Setup a little Render Farm, this will allow mental ray work much faster (and happier!!)
Adding a Mental Ray render node into your pipeline can massively improve your workflow,
that's why you should take a look at Setting Up a Render Farm in Maya and Mental Ray Tutorial .
We took a first look to Mental Ray Sun and Sky, but there are still a lot of different approaches that we can use to make great exterior renderings.
I think Mental Ray Sun and sky is VERY good for the 80% of the exterior render jobs, for the remaining 20% we should take a look at different/advanced tecniques.
In the future (I hope a near future!) we will take a look at other effective exterior render tecniques in Maya and Mental Ray. We will also go deep in Mental Ray Physical Sun e Sky to see how it can be combined with other tecniques and how you can achieve special (and very cool!!) athmosphere render effects.
Happy rendering!
Antonio




28 thoughts on “Maya Exterior render tutorial (Mental Ray)”
thanks…
hi,
great tutorial. even tho i am using 3ds max 2010, mental ray i finally got an understanding of the basics.
i hope you have more tutorials somewhere saved.
🙂
especially mental ray tutorials concerning external rendering
Hi Antonio,
Thank you for your very nice tutorial. I’m switching from 3DSMAX and Vray to Maya and mental ray. I’m actually doing an external render and your tutorial is great. Unfortunately i’m blocked at the beginning because my glass material remain black without GI, and then a minor aspect with GI. I’m sure it is nothing but painful 😉
Can you help with this?
Hi Francois, did you raise the Trace Depth parameters under render options?
Thank you very much!!
Thanks for finally writing about >Exterior render tutorial
in Maya and Mental Ray
Hi Antonio,
what a great & useful MR tutorial!
many thanks for your effort.
G
L
hello! Great tutorial, explains everything in great detail. I jave one question are you able to explain how you created your grass?? Or at least point me in the right directon?
THanks!
Hi “M”, maya paint-fx is great for grass creation 😉
Hi, your tutorial is amazing. But my things always look flat when I render with physical sunlight, I do follow your tutorial, maybe my models and textures not good enough. I’m waiting for the grass and plant tutorial!!!!!!! Thank you!
hi for best software for rendering? maya-max-rhino-cinema4d-modo
Hi Rahro, any software has its pros and cons! But I prefer maya over any other software 😉
Amazing man, thanks a lot…
Thanks for the tutorial. great job. o/
😆 thank thank……………..good very well i do not know what to say
Thanks!
Very Helpful,
Thank you Good sir 😉
Will be tryin these techniques to improve my work and be looking forward for more Cookies 😆
Tutorial online!! Thanks for your patience!
We will wait patiently for it! Thanks in advance and good luck with those projects you´re working on. Cheers
thanks for taking time to do this tutorials,cant wait for this one!!!
Hi guys, sorry for the late. I’m working hard on too many projects!
I’m setting up the scene for the tutorial on these days! Hope to have the full tutorial for the first weeks of july. Thx for the support!
Can’t wait to see this tutorial!! Do you know, when you will have time to finish it?!? thanks alot!
Really expect this 😀
Hi Antonio, when can we expect this tutorial? This will cover just mental ray sun and sky or some materials too?
Thanks
Hi Marcos,I’ll probably write this tutorial in the next 1/2 weeks. I’ll discuss about enlight efficently an exterior scene using mr sun&sky with mr materials. This tutorial will be a starting point for further and advanced tutorial that will cover materials, plant/grass creation, tonemappers, post production and more. Hope to make all this stuff soon!
Alright, keep going the excellent work! By the way, thanks for the olive trees update (turbosquid), works like a charm!
Looking forward to it. Keep up the good work.
Cheers
It would be the next 😉 thx for the support